Build your upgrade plan to experience a seamless and an accelerated upgrade by
packaging the applications in an upgrade plan.
Before you begin
Note: Ensure that you have upgraded your instance to the latest available version to build the upgrade plan. It is recommended to build an Upgrade Plan for each instance upgrade. The target version of the Upgrade Plan must be exactly the
same as the instance version (including patches and hot fixes). You can’t use the previously created Upgrade Plan for the new instance upgrade.
Role required: admin
Procedure
-
Navigate to .
Note: It is recommended to set up your dev instance as a builder instance.
-
Navigate to .
Note: If you are on the Upgrade Monitor page, click Manage Upgrade
Plan.
The Upgrade Plan list view shows up.
-
Click Build to start the upgrade plan build.
Upgrade Plan takes up only the app installations by default and publish it on to the app repository. See Upgrade Plan background operations section in
Upgrade Plan overview for more information.
Note: Ensure all the applications in the instance are in ready state to be published on to the app repository.
You are allowed to have only one Upgrade
Plan at any point of time.
A final confirmation message shows up to start building the upgrade plan. If any application has changes in-progress, the Upgrade Plan must be built only after the changes are done. Warning message shows up to
complete the review of the remaining skipped records, provided you have enabled the GLIDE_UPGRADE_PLAN_INCLUDE_SKIPS property.
-
Click Build Upgrade Plan.
The upgrade plan starts to build.
-
Click Go to Upgrade Plan once the build is done.
Note: Click View Details if you want to view the execution details of the Upgrade Plan. If you see a warning, it is recommended to review the execution details to know the errors.
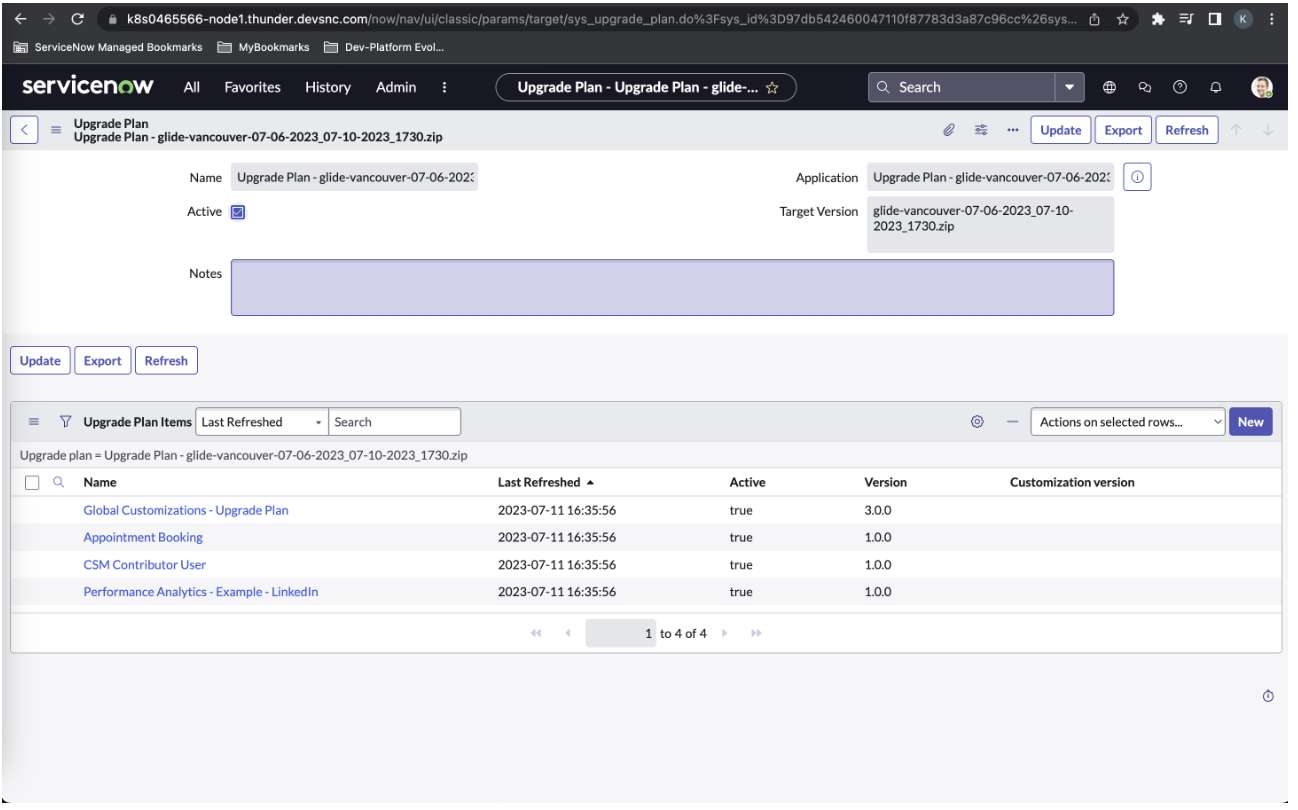
The upgrade plan opens and a list of upgrade plan items shows
up.
- Optional:
Click New if you want to manually add any upgrade plan
items.
Note: The applications or plugins that you want to add manually to the upgrade
plan must be already installed and active on the instance.
If you want
to skip any of the upgrade plan items from being a part of the Upgrade Plan, set
the selected upgrade plan item to false.
- Optional:
Click Refresh to capture all the recent changes to the
Upgrade Plan.
Note: This step is applicable only if you have any update on the existing application or plugin in the Upgrade Plan. If the upgrade plan has already been published, you are required to republish it after every refresh.
-
Click Publish to publish the Upgrade Plan.
See Upgrade Plan background operations section in
Upgrade Plan overview for more information.
Note: Install all the required applications and plugins before publishing the upgrade plan. If you have set the GLIDE_UPGRADE_PLAN_INCLUDE_SKIPS property to
true, you will have to resolve all the skipped records before publishing the upgrade plan. If you want to delete the Upgrade Plan, click Delete. The Delete option is available
only for the Upgrade Plans that are not yet published.
The upgrade plan is now ready to be installed in the consumer
instance.