- Post History
- Subscribe to RSS Feed
- Mark as New
- Mark as Read
- Bookmark
- Subscribe
- Printer Friendly Page
- Report Inappropriate Content
on 03-01-2022 03:50 PM
We have introduced a rich UI/administrative frontend to the calendar. Now, anyone can set up a new calendar or edit attributes of their existing calendars from a dashboard page within an Employee Center.
Downloaded the latest collaboration calendar HERE
Checkout the latest features of the collaboration calendar here
A quick recap
INTRODUCTION
The COLLABORATION CALENDAR IS AN ONLINE CALENDAR FOR TEAMS TO DRIVE EFFECTIVE COLLABORATION. THE CALENDAR PROVIDES A SINGLE VIEW AND CAN BE SHARED WITH EVERYONE.
The collaboration calendar is an enterprise collaboration tool to plan, organize and share events, resources, assets or anything else that must be organized across a group of people and time. You can share the calendar with individuals and groups of people to provide one destination where everyone can come for their collaboration needs.
What is the problem and how does the Calendar app solve these problems?
Most calendars are designed for individual use and there is a need for groups and teams to be able to visualize work at a team level. Moreover, individual calendars are often not visible to team members, so it becomes difficult to plan shared resources/content at a team level. Also, sharing information about events and assets with teams does not scale with existing calendars
Solution: Collaboration Calendar App by ServiceNow
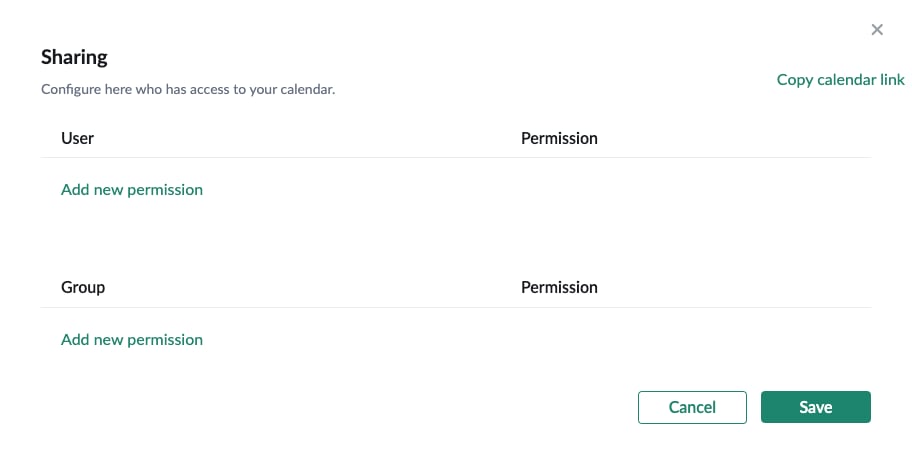
Using the Collaboration Calendar available on the ServiceNow platform, teams can now visualize, manage, and share calendars across teams, individuals and groups. The calendar is fully customizable and users can add/configure using custom fields and assign color coded categories to visualize several different calendars. Easily share a calendar with an individual or a group of users from within the app. Invite them to collaborate on your calendar. There is also an easy link that can be used to share.
What are some popular applications (use cases) for Calendar
Here are some of the scenarios where the Calendar app can help
- Do you have trouble managing teams and resources on a project?
- Holidays are around the corner, and you don’t know who is OOO when?
- You work with Content and need to organize and plan across geos, themes, and leaders?
- You are in workplace services, and need to deploy resources, or need a tool to book assets?
- Best of all, need one source to share and collaborate across all your team members?
- Build a Release plan across multiple projects
- Plan for reserving Assets (projectors, printers)
- Events and Communications planning and organizing content for social media or communication
Getting Started on HOW TO USE THE CALENDAR - The frontend
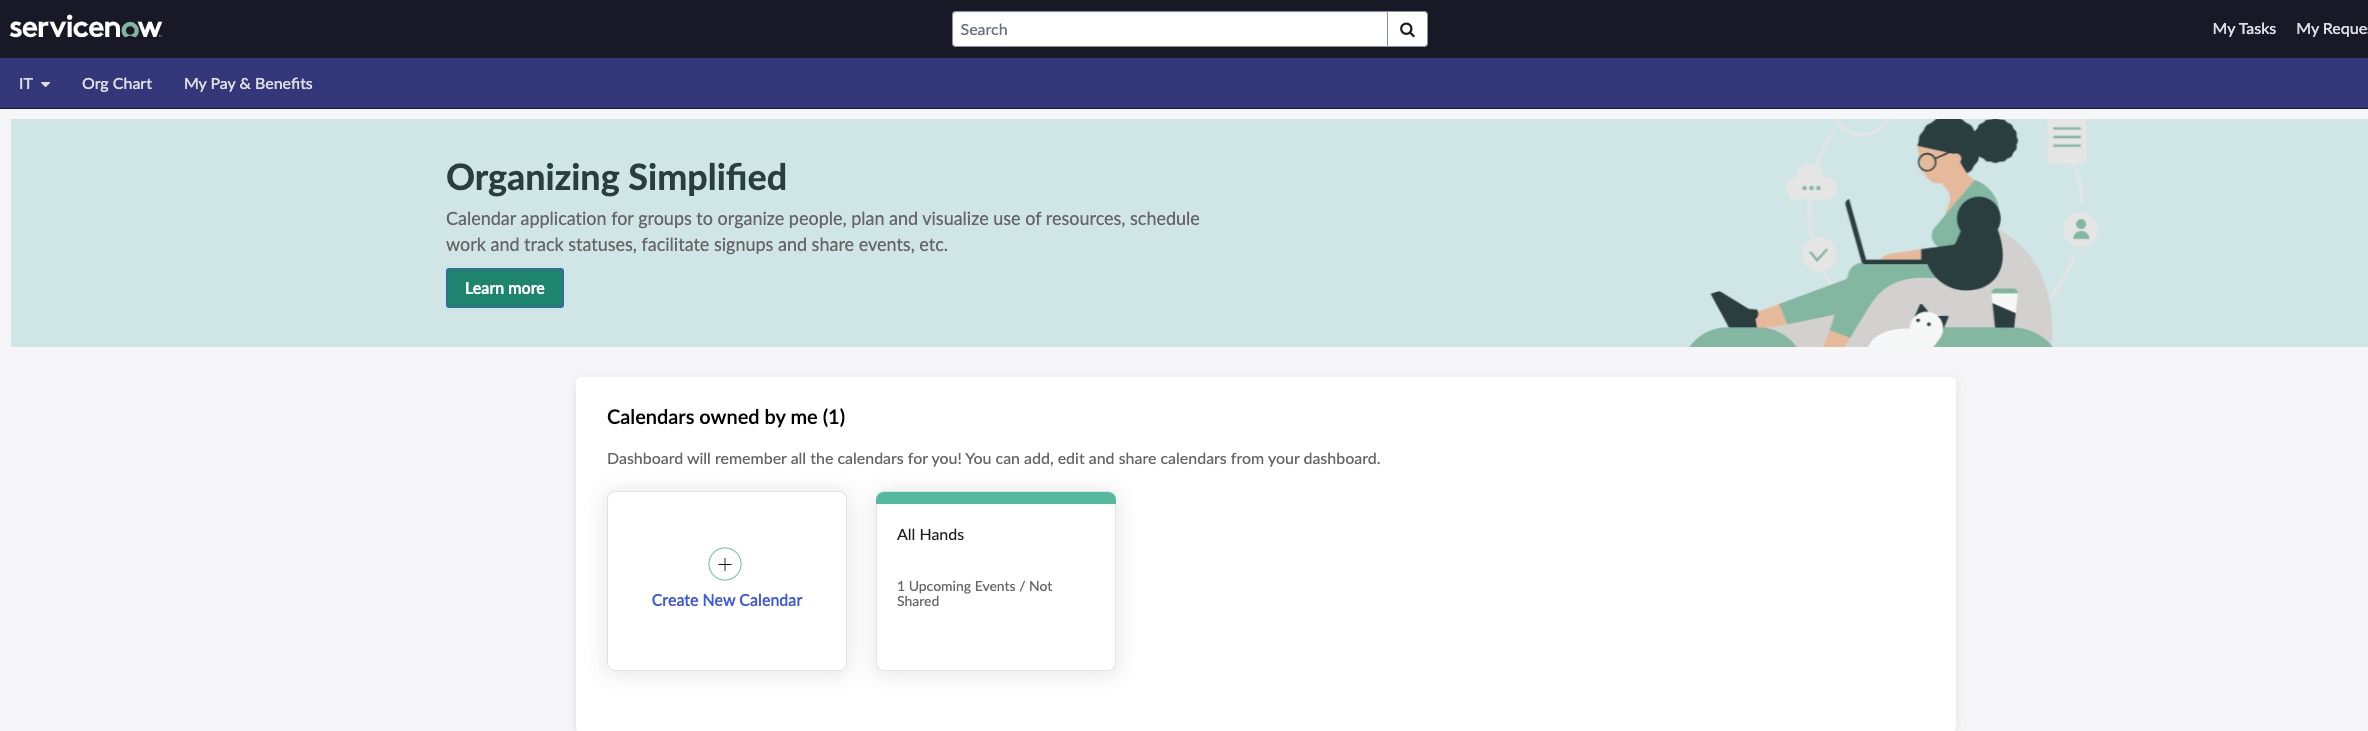
Step 1: Create a calendar from your employee center
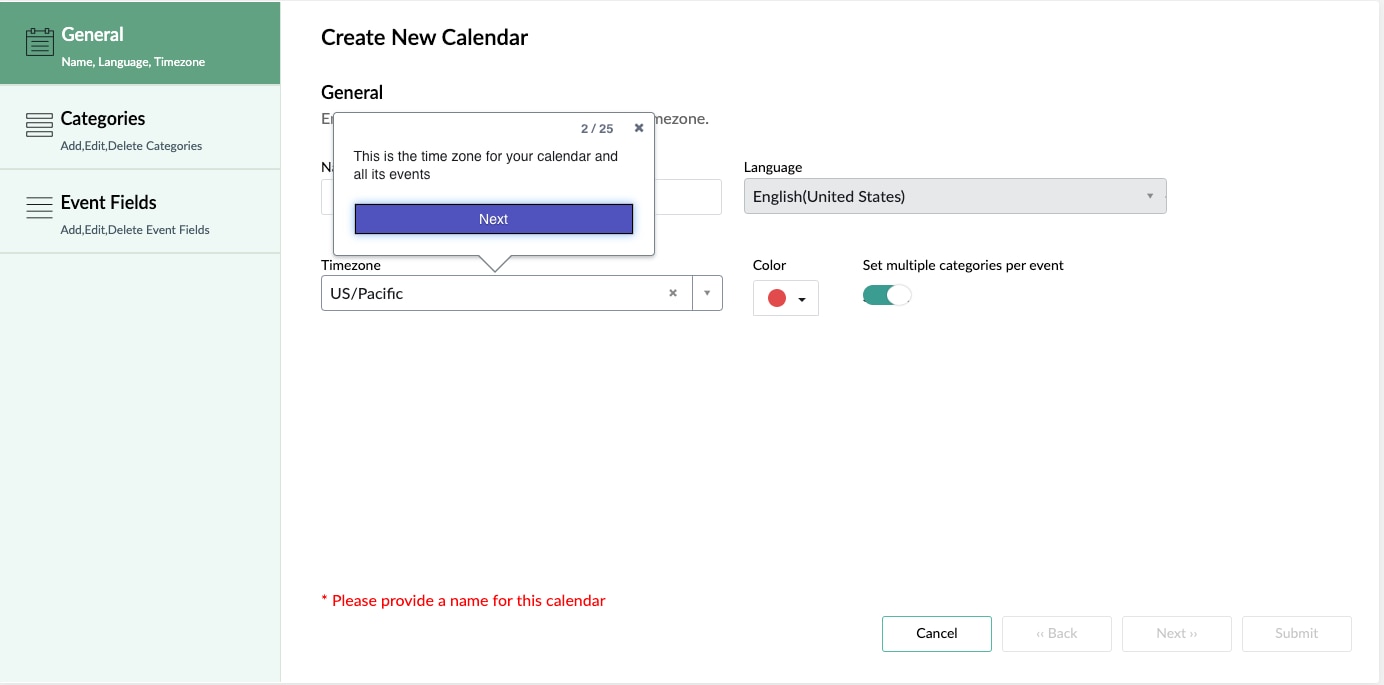
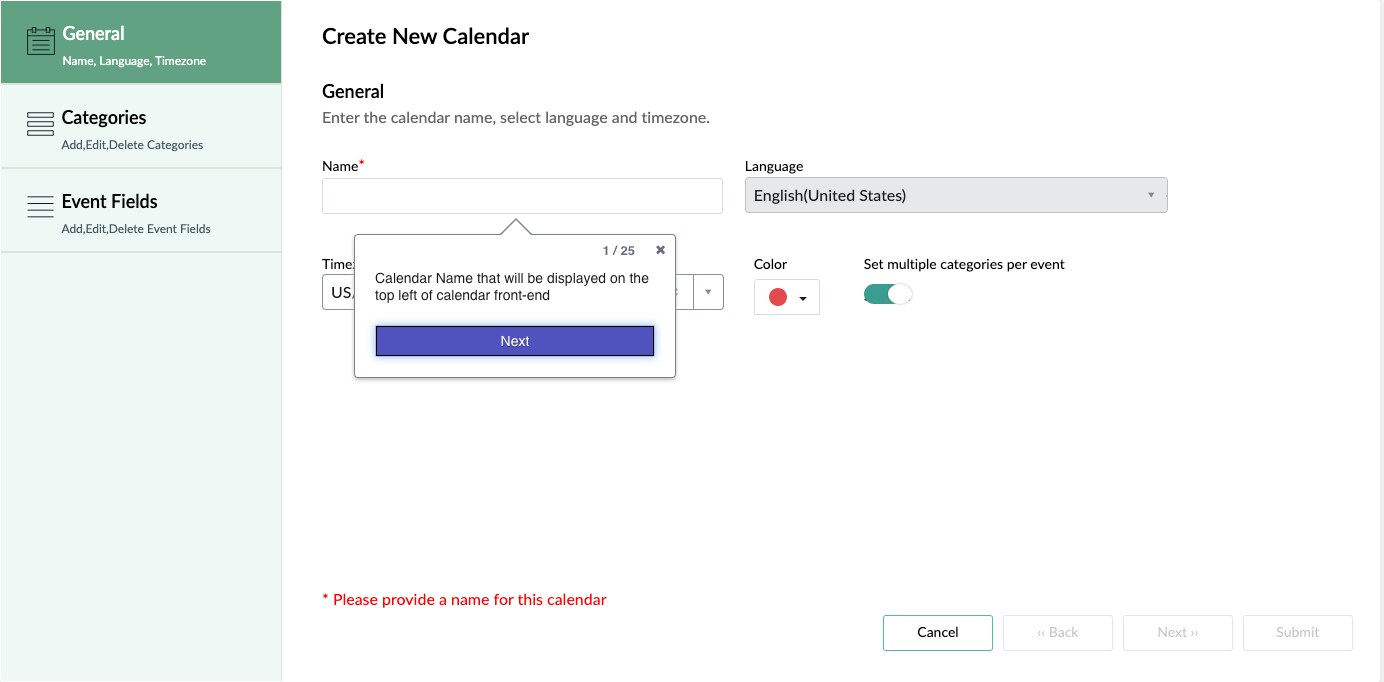
Navigate to your Calendar Dashboard. Click on Create New Calendar to start.

Begin creating your calendar. You will go through several steps starting with General, moving to the Categories, and then finally, creating as many custom event fields as you need to make your calendar work exactly the way you need it to work.
Let's begin.
Name - Calendar Name that will be displayed on the top left of calendar front-end

Time Zone - This is the time zone for your calendar and all its events

Language - Default Language in which the calendar is displayed. Currently, the only supported language is English
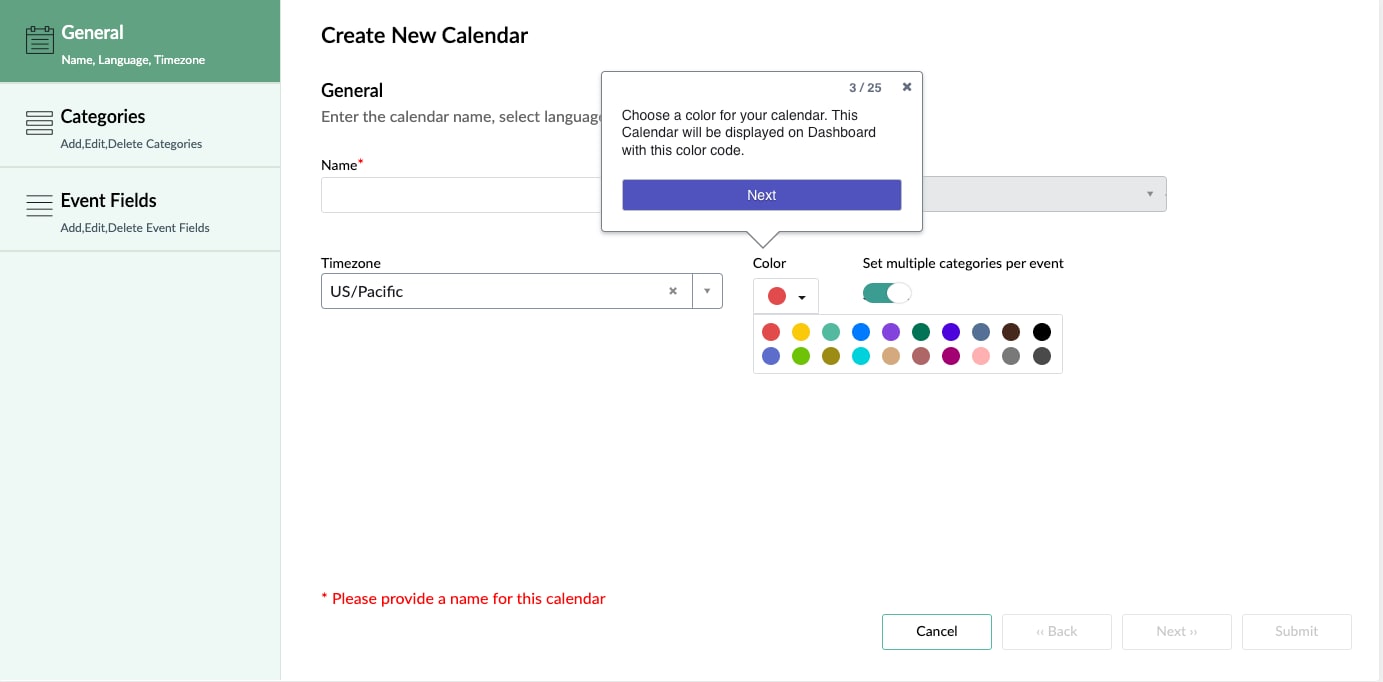
Color - Choose a color for your calendar. This Calendar will be displayed on Dashboard with this color code

Set multiple categories per event - If this feature is enabled, the event modal allows the assignment of multiple categories to one event.
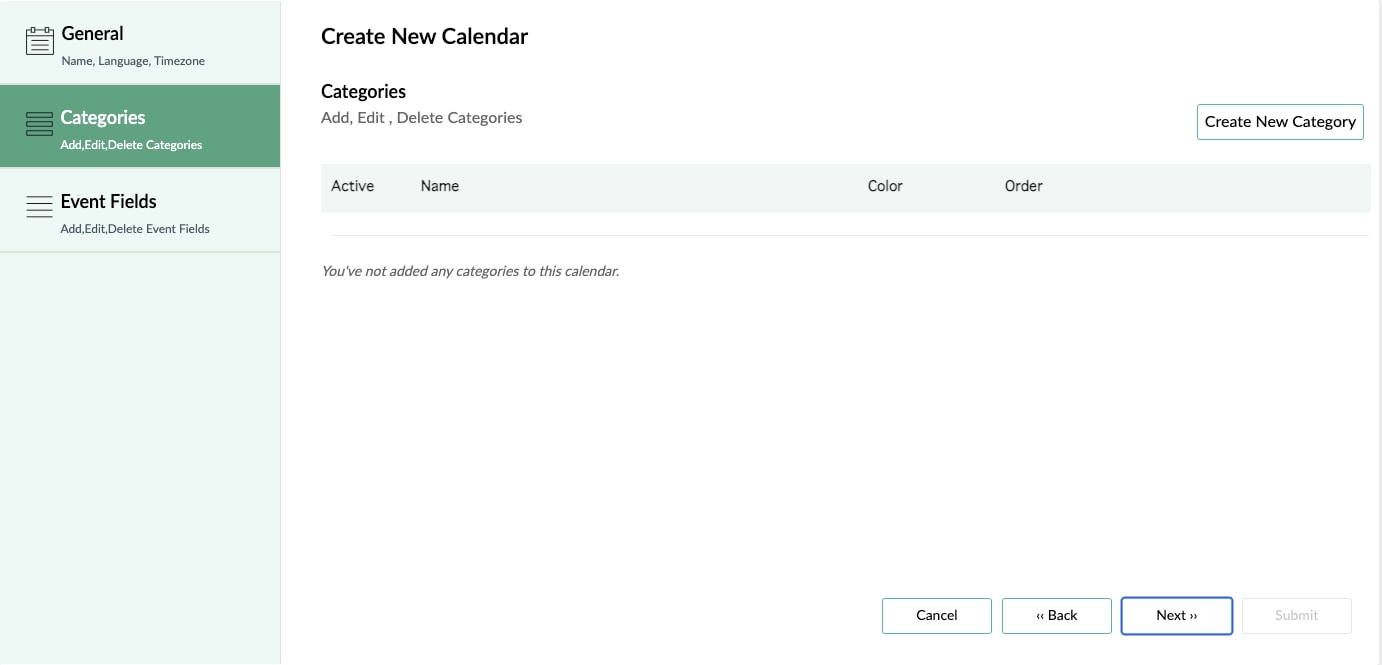
Step 2: Create Categories
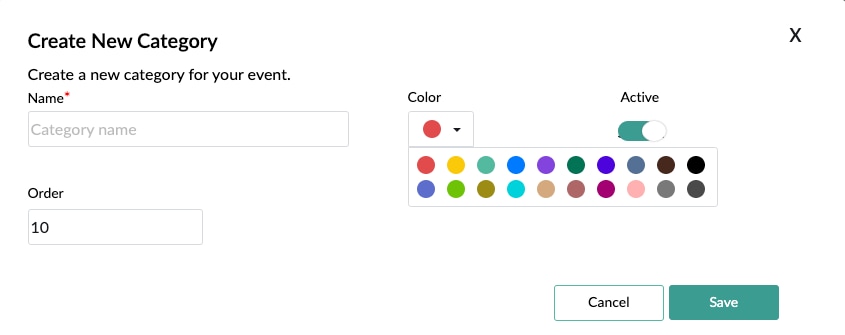
Click on Categories tab, and then click on 'Create New Category'


Name – Enter the name of the category, ex- Project-1, EMEA Comms, Sales Team
Color - Choose a color for this category. All events associated with this Category will be displayed in this color on the Calendar
Order- This allows you to control the order in which the categories will be displayed in the left pane of the calendar. Display is in ascending order.
Step 3: Manage Out of the Box Event Fields settings (if needed)
You can rename, disable, mark as mandatory and reorder the Out of Box Event fields

Step 4: Create Custom Events (if needed)
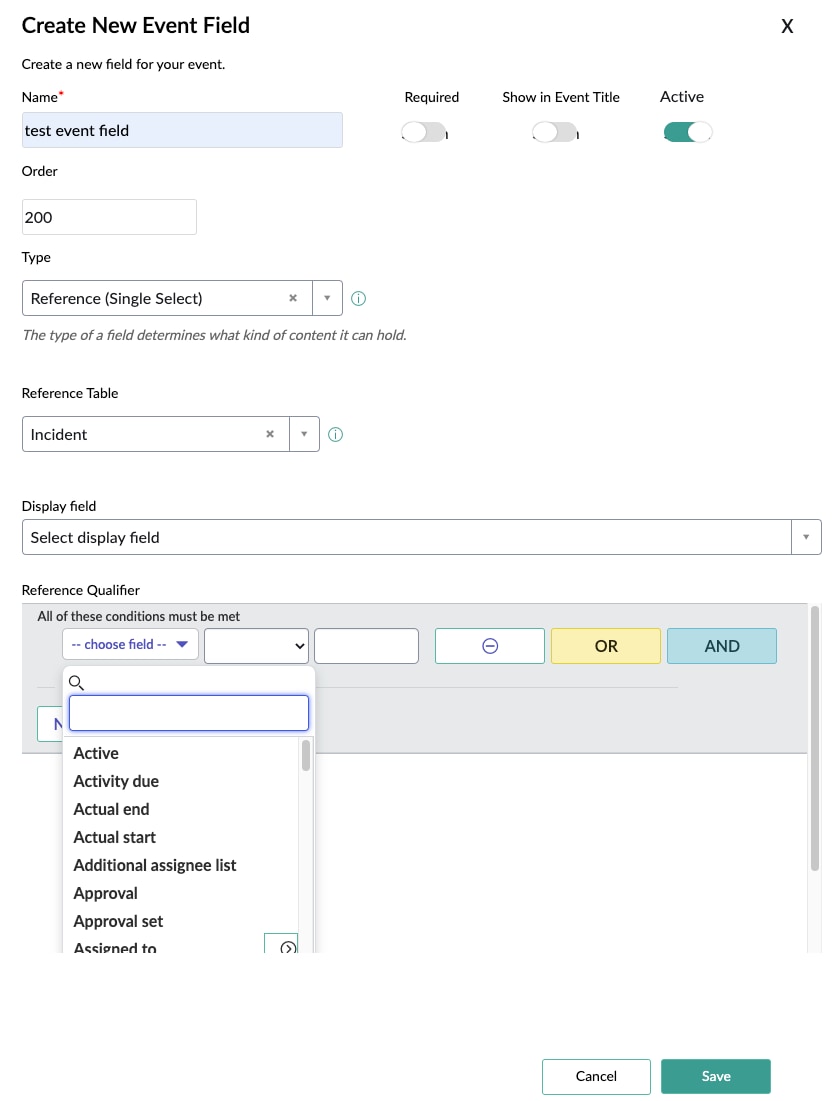
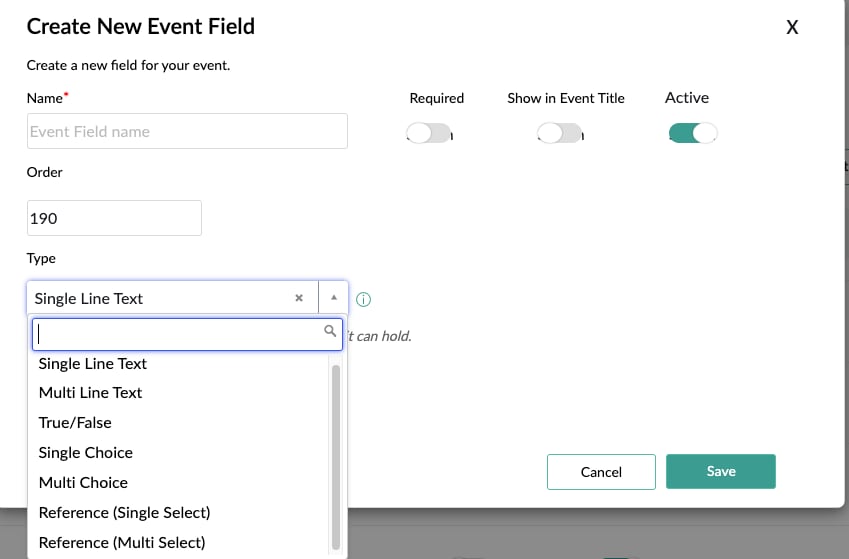
You can create your own custom fields for any specific needs by clicking on ‘Create New Event Field’

Name – Event field Name
Required - If true, an event cannot be created or edited without this field being populated.
Active -If true, the field shows on the events modal page
Show on Event Title - If true, the contents of the field will be shown in event pop-up
Order- Can be used to determine the display position on Event Modal
Type- Event Field type. For this Pilot it can be text, choice (dropdown) or True/False
Customer Field Choices:
If you have created a choice type custom field, you can define the values (dropdown values)

Enter all the information and click on Submit. Create as many options as needed. Order will determine the order in which these are listed in the dropdown
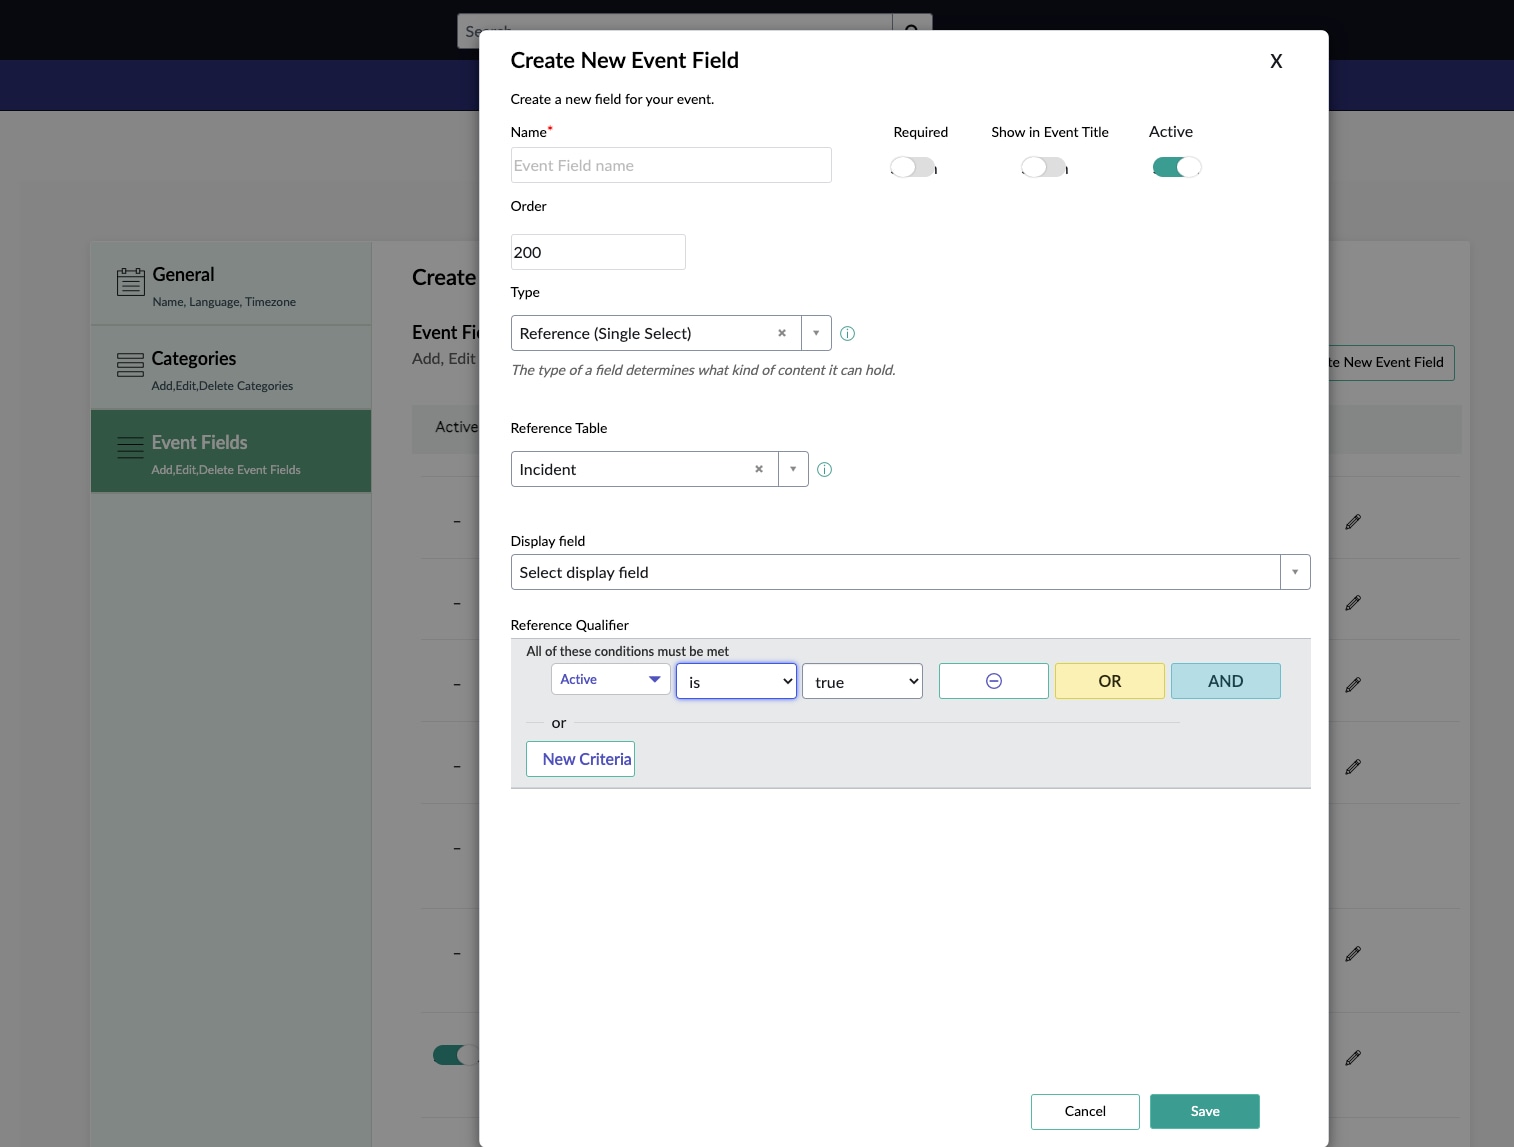
Here is a quick example of a reference type field with the incident table as its source and a reference qualifier


- 64,995 Views
- Mark as Read
- Mark as New
- Bookmark
- Permalink
- Report Inappropriate Content
Hello @Krishna Nagara1, I was advised by another team member to reach out here. We are using the Collaboration Calendar with a custom table to pull the date information from the table to post the record into the calendar to show these as events. The problem we discovered is that its making the allday event checkbox checked or true always no matter what we do to update the client controller or server script where the indications of the element are found. The allday event element when using a custom table is subtracting a day from the end date making the record dating inaccurate.
What we tried;
Setting the element to be inactive - this breaks the entire calendar and errors out.
Setting the element in the code to return unchecked or always false - this showed no result and didn't change anything, the date was still subtracting.
Creating a field on the table record to indicate allday event in the same variable type - checkbox and setting it to false then mapping it to the allday event button on the calendar - as the previous solution, no change.
Any insight into this from the out of box code would be greatly appreciated. We have been struggling with this issue for months and had a couple tickets open previously.
- Mark as Read
- Mark as New
- Bookmark
- Permalink
- Report Inappropriate Content
Curious about a couple questions.
- Is anyone using this app successfully (Yokohama and later)?
Per the Store page, I know this app isn't supported by ServiceNow...
... but the most recent comments here and in other threads mention open issues, some saying the app is unusable even, with no responses from ServiceNow for over a year and solutions not being shared. - I'm also confused as to why the store page says "To try this app please contact your sales representative" when the the plugin page within the platform lists it as Free (not counting the optional requirement for IntegrationHub if syncing with Outlook). Is it not free?


I'm just hesitant to pursue this if it's going to have a lot of issues (or worse, not work at all) since it's unsupported. Plus confused about whether it's free or not.
Thanks for any insights you might have.
- Mark as Read
- Mark as New
- Bookmark
- Permalink
- Report Inappropriate Content
Hello @Krishna Nagara1
Could you please tell us the process to follow in order to export the plugin from an instance where it is installed to PDI?
- « Previous
-
- 1
- 2
- Next »