- Post History
- Subscribe to RSS Feed
- Mark as New
- Mark as Read
- Bookmark
- Subscribe
- Printer Friendly Page
- Report Inappropriate Content
on 03-21-2018 07:21 PM
This article will explain how to create a simple widget which will display your current Service Catalog items in a menu leveraging MasonryJS.
-Tested on version: Istanbul-
First, let's start with creating and saving a widget: we can call it - "Mason Menu".

Now, let's add a dependency by scrolling down to the related lists at the bottom of the widget, which will point to a cdn (content delivery network) url, which can be found here at cdnjs.

Click new and name the dependency Masonry JS or a title of your choosing, and save the dependency.

Two related lists to add a js include and css include will appear on the bottom of the record.

Create a new js include, including the url you copied from cdnjs

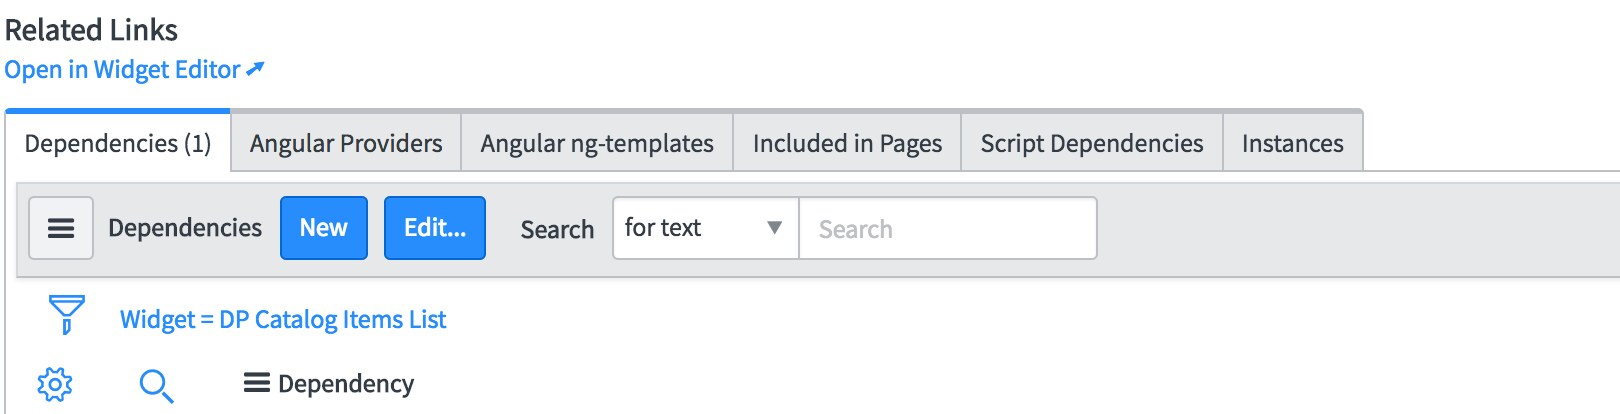
After saving the js include, head back to the widget you created, and scroll down to the dependencies related list you
viewed previously, this time clicking 'edit'. Select masonry js from the slush bucket, and save the record.

Now that we've set up the dependency we needed, we can now structure out the widget within the widget editor, starting
with the server side script:
Server Script:
(function() {
	data.categories = [];

	var catalogsGR = new GlideRecord("sc_catalog");
	catalogsGR.addActiveQuery();
	catalogsGR.addQuery("title","Service Catalog");
	catalogsGR.query();
	if(catalogsGR.next()){

	var categoriesGR = new GlideRecord("sc_category");
	categoriesGR.addActiveQuery();
	categoriesGR.addQuery("sc_catalog",catalogsGR.sys_id);
	categoriesGR.orderBy("title");
	categoriesGR.query();

	while(categoriesGR.next()){
		var category={};
		category.name = categoriesGR.getDisplayValue("title");
		category.sys_id = categoriesGR.getUniqueValue();
		category.items=[];

		var catalogItems = new GlideRecord("sc_cat_item");
		catalogItems.addActiveQuery();
		catalogItems.addQuery("sc_catalogs",catalogsGR.sys_id);
		catalogItems.addQuery("category",categoriesGR.sys_id);
		catalogItems.setLimit(5);
		catalogItems.query();
		while(catalogItems.next()){
			var catalogItem={};
			catalogItem.name = catalogItems.getValue("name");
			catalogItem.sys_id=catalogItems.getUniqueValue();
			category.items.push(catalogItem);
		}
		data.categories.push(category);
	}
	}
})();
Next lets set up the client script:
Client script:
function($scope) {

/* widget controller */

var c = this;

$scope.categories=c.data.categories; //assign the c.data.categories array from the server side script to the controller's $scope object

}
The html can be structured out like below:
<div class="container">
    <a href="#" ng-click="showMenu()" class="menu btn btn-primary">Menu</a>
    <div class="grid">
        <div class="grid-item" ng-if="category.items.length!=0" ng-repeat="category in categories">
            <div class="category-name">
                {{category.name}}
            </div>
            <p class="text-muted" ng-repeat="item in category.items">
                <a href="/sp?id=sc_cat_item&sys_id={{item.sys_id}}" target="_blank">{{item.name}}</a>
            </p>
            <p>
                <a href="/sp?id=sc_category&sys_id={{category.sys_id}}" target="_blank" class="text-muted"><i class="fa fa-angle-right"></i> See all</a>
            </p>
        </div>
    </div>
</div>
Let's set up a link function now where we can interact with the DOM and call the masonry js method: masonry()
Link Function
function(scope,element){

scope.showMenu=function(){

$(element[0]).closest(".container").find(".grid").fadeToggle().masonry(

{
 // options

  itemSelector: '.grid-item',

  columnWidth: 160

});

}

}
Finally, add some css to define and control the width of both the grid and grid items, and provide some basic styling to the menu
.grid{

  display: none;

  max-height: 100%;

  width: 100%;

  padding:15px;

  background:#fff;

  border:thin solid rgba(0,0,0,.30);

  border-radius:3px;

}

.grid-item {

width: 120px;

min-height: 20px;

}

.category-name{

font-weight:bold;

}
Open your menu by clicking the show menu button and view the results in your widget editor, also ry resizing your browser
to see the effect Masonry JS has on calculating available white space and placing your elements accordingly.

*** You can add options as needed, such as where to direct the 'See all' link in your own portal.***
***Please leave feedback and criticism, and point out anything I may have done incorrectly, as this will only make me a better developer.***
- 1,603 Views
- Mark as Read
- Mark as New
- Bookmark
- Permalink
- Report Inappropriate Content
Very interesting, and if we want we can change the colors, spacings etc.
I'm just curious to know about this if we click on "see all" it is redirecting to another page, instead of that if i would like to just expand the menu items what was the best way to do it.
- Mark as Read
- Mark as New
- Bookmark
- Permalink
- Report Inappropriate Content
Good morning sreev,
Sorry for the late reply. I put this together real quick for your reference. Let me know if you have any questions and I can go over:
HTML
<div class="container">
    <a href="#" ng-click="showMenu()" class="menu btn btn-primary">Menu</a>
    <div class="grid">
        <div class="grid-item" ng-if="category.items.length!=0" ng-repeat="category in categories">
            <div class="category-name">
                {{category.name}}
            </div>
            <p ng-class="{'hideItem':$index>4}" class="text-muted" ng-repeat="item in category.items track by $index">
                <a href="/sp?id=sc_cat_item&sys_id={{item.sys_id}}" target="_blank">{{item.name}}</a>
            </p>
            <p>
               <!-- <a href="/sp?id=sc_category&sys_id={{category.sys_id}}" target="_blank" class="text-muted"><i class="fa fa-angle-right"></i> See all</a>-->
              <a href="#" ng-click="showAll($event)" class="text-muted allLink" ng-if="category.items.length>5"><i class="fa fa-angle-right"></i> See all</a>
            </p>
        </div>
    </div>
</div>
CSS:
.hideItem{
	display:none;
}
.showItem{
	display:block;
}
.grid{
  display: none;
  max-height: 100%;
  width: 100%;
  padding:15px;
  background:#fff;
  border:thin solid rgba(0,0,0,.30);
  border-radius:3px;
}
.grid-item {
 	width: 120px;
  min-height: 20px;
}
.category-name{
font-weight:bold;
}
Link Function:
function(scope,element){
scope.showMenu=function(){
$(element[0]).closest(".container").find(".grid").fadeToggle().masonry({
// options
itemSelector: '.grid-item',
columnWidth: 160
});
}

scope.showAll = function(event){
$(event.target).closest(".grid-item").find(".hideItem").addClass("showItem");
$(".grid").masonry();
}
}
For the link function, you can even replace the:'$(event.target).closest(".grid-item").find(".hideItem").addClass("showItem");' to toggleClass("showItem"), as well as add in logic to toggle the "See All" link to hide when clicked and show a "See less" link so users can toggle the list at will.