- Post History
- Subscribe to RSS Feed
- Mark as New
- Mark as Read
- Bookmark
- Subscribe
- Printer Friendly Page
- Report Inappropriate Content
on 07-22-2022 12:26 PM
- COE
- UI Builder Resource Hub
- Add a Button to the List Component using Declarative Actions
Recently, Arnoud Kooi posted a really great article and video on Open an new UI Builder Tab from Workspace Record page Using Declarative Action. I would recommend reading and watching his post before going through this. His video/article was focused on adding a button to a form component/record page that then hooks into a UI Builder event. At the same time, someone asked me how they might do something like that from a list instead of a form, and while the steps are similar, they are slightly different.
In the following video, I show how to:
-
-
- Create a new UIB page with a list and page event that opens a modal.
- Create a declarative action that shows up on the list as a button.
- Connect the declarative action to the event I created in step 1 that opens the modal.
-
Steps from the video:
-
-
- Create the UIB page and add components and events
- Create a new page in an existing workspace experience.
- Add a List component inside a container to the page (spoiler: select the correct table at the beginning)
- Add a Confirm modal to the page and configure it.
- Create a LIST#OPEN_MODAL page event.
- Click on the Body element in the content tree on the left and then in the congifuration panel click on Events.
- Scroll down to Handled events and +Add a new event. I named mine LIST#OPEN_MODAL.
- Scroll up to the Page event mappings and add an event handler to that page event that opens the modal.
- In the Core UI, create the necessary records for the button to show up on the list
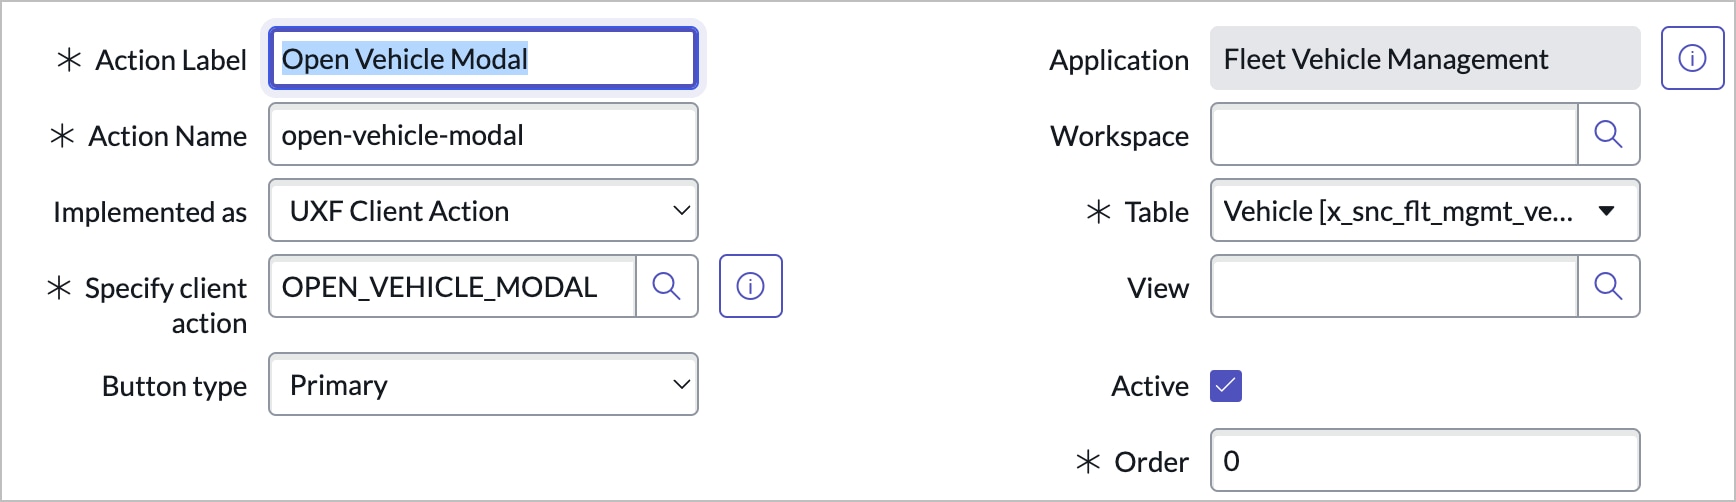
- Create a declarative action assignment [sys_declarative_action_assignment] record by going to Workspace Experience > Actions and Components > List Actions and hitting New.
Make sure the action name is lowercase with dashes and the table name matches the table you're working against.- As a part of that create a new Action Payload Definition record
The naming convention for the Key should be all uppercase with underscores (I messed this up in the video).
- As a part of that create a new Action Payload Definition record
- Go to the UX Actions Configurations [sys_ux_action_config] table and create an action configuration for your workspace if it doesn't already exist (this should only be the case if you have created your own workspace and this is the first declarative action you're creating for it).
- Add an M2m Action Assig Ux Action Config record in the List Actions related list on the config record that points at your Declarative Action Assignment.
- Grab the sys_id of the UX Actions Configurations record you just created in step 2.2.
- Navigate to the experience record for your experience but going to Now Experience Framework > Experiences and choose yours from the list.
- Click into the actionConfigId record in the UX Page Properties related list on your experience record and make sure the value is the sys_id of the record you just created and copied (it most likely will not be).
NOTE: If you've already done this for another action, you can skip steps 2, 4, 5 and just add the action to the List Actions related list on the UX Actions Configuration record for your experience. - Now go to the UIB page you created in step 1.1 and see if the button shows up (spoiler alert: the table of your list component needs to match the table on the declarative action assignment record.
- Create a declarative action assignment [sys_declarative_action_assignment] record by going to Workspace Experience > Actions and Components > List Actions and hitting New.
- Lastly, we need to connect the Declarative Action button to the page event we created in UIB
- Create a new UX Add-on Event Mapping [sys_ux_addon_event_mapping] record where:
- Event Mapping Name: Any name you want, I live to be consistent with my action name.
- Source element ID: The ID of the list component you're firing this from
- Source Declarative Action: reference to the DA you created
- Parent Macroponent: The page your list component is on
- Target Event: The event from that page you want this button to fire
- Create a new UX Add-on Event Mapping [sys_ux_addon_event_mapping] record where:
- Create the UIB page and add components and events
-


Conclusion
Hopefully, this video and article helped you understand how declarative actions can connect to events in UI Builder. You may be asking, though: Why do I need to connect to an event in UI Builder?
Well, you can read more about events in the docs and in the UI Builder developer site course, but basically, events are the way that you can make components, data resources, and other things talk to each on the UI Builder page. You can respond to an event and access its payload via one of our OOB event handlers or with a page script. Events can pop open modals, route the user to a new page, kick off a query or mutation of data, run a page script, etc. Being able to connect your DA to an event opens up some possibilities when working with forms and lists in experiences.
- 13,925 Views
- Mark as Read
- Mark as New
- Bookmark
- Permalink
- Report Inappropriate Content
Hello,
Is this supposed to work in OOB experiences ? I tried this in CSM/FSM Configurable experience and it's not working
- Mark as Read
- Mark as New
- Bookmark
- Permalink
- Report Inappropriate Content
Hello @Brad Tilton I am currently following the instructions and it seems that the step for updating the actionConfigId sys id is not required anymore, isn't it? I am not able to see the record for actionConfigId in newly created experiences can you advise?
- Mark as Read
- Mark as New
- Bookmark
- Permalink
- Report Inappropriate Content
Hi @Brad Tilton , see that your example is to add this new list button to a custom list page, how about adding the button to default list page? Seems that default list page is not configurable so I guess is not possible to do so?
I'm looking into this because I have a requirement to create a list button in CSM workspace and when this button is clicked, it will create a new record with a field prefilled. I'm struggling to find a solution to this....
- Mark as Read
- Mark as New
- Bookmark
- Permalink
- Report Inappropriate Content
@ChinchillaMoMo you should be able to do this for a custom or oob list page. This guide may help you out: Declarative Actions in ServiceNow: The COMPLETE Guide
- Mark as Read
- Mark as New
- Bookmark
- Permalink
- Report Inappropriate Content
Hi @Brad Tilton , I have tried to access the OOTB default list page, it said it has protection policy and can't be edited unfortunately...
