


Sush3

ServiceNow Employee
Options
- Subscribe to RSS Feed
- Mark as New
- Mark as Read
- Bookmark
- Subscribe
- Printer Friendly Page
- Report Inappropriate Content
08-19-2016
04:42 PM
In this blog, we will see how we can use $rootScope to share data between widgets via a simple example. Every angular application has a single root scope. All other scopes are descendant scopes of the root scope. Theoretically, if we assign something to a root scope variable, we should be able to access this value inside other widgets as well.
In my previous blog How to communicate between widgets in Service Portal , we created a portal, where we used $rootScope.broadcast to hide/show widgets. Today we will be using the same example, but this time, we will use a root scope variable to achieve this.
So, I am going to start by changing HTML and Client Controller of Widget 1 we created in Step 3.
Step 1: Edit the widget we created in Step 3 (Menu Pills widget)
Please use the below snippets to create your widget
Client Controller:
function($rootScope,$scope,$timeout) {
/* widget controller */
var c = this;
$rootScope.selectedPill = 'requests'; // When page loads, default pill selected
//Let's create an array of objects in root scope here, This array should be available for use inside any of the widgets in this app.
//We will try to access this again later inside other widget
$rootScope.simpSons = [
{
"name":"Homer Simpson",
"title" : "Nuclear Safety Inspector"
},
{
"name":"Bart Simpson",
"title" : "Troublemaker"
}
];
$scope.selectPill = function(selection){
//When the pills are clicked, we change the root scope variable.
$rootScope.selectedPill = selection;
};
}
HTML:
<div>
<!-- your widget template -->
<div class=" pill-background row">
<div class="each-pill" ng-class="{'active':$root.selectedPill == 'requests'}" ng-click="selectPill('requests')">
<i class="fa fa-2x fa-list " aria-hidden="true"></i>
<p class="remove-margin">All Requests</p>
</div>
<div class="each-pill" ng-class="{'active':$root.selectedPill == 'create'}" ng-click="selectPill('create')">
<i class="fa fa-2x fa-wrench " aria-hidden="true"></i>
<p class="remove-margin">Create Request</p>
</div>
<div class="each-pill" ng-class="{'active':$root.selectedPill == 'contact'}" ng-click="selectPill('contact')">
<i class="fa fa-2x fa-phone " aria-hidden="true"></i>
<p class="remove-margin">Contact</p>
</div>
</div>
</div>
As you can see above, we can access $rootScope variable in HTML using $root.
Now let's edit the other three widgets we created in Step 4, 5 and 6
Step 2: Edit Widget we created in Step 4 (All requests widget)
HTML(Only first line edited, everything else is same):
<div ng-if="$root.selectedPill == 'requests'">
<div class="container">
<!-- your widget template -->
<div class="col-md-10 center-div">
<h3 style="display:inline-block;float:left;">Requests</h3>
<div ng-repeat="incident in data.requestList | limitTo:5" class="each-incident">
<h4>{{incident.number}}</h4>
<p style="margin-bottom:0px;">{{incident.short_desc}}</p>
</div>
</div>
</div>
The first line of this HTML has ng-if. based on the root scope variable selectedPill, these widgets are shown/hidden.
Client Controller:
function($scope,$rootScope,$timeout) {
/* widget controller */
var c = this;
}
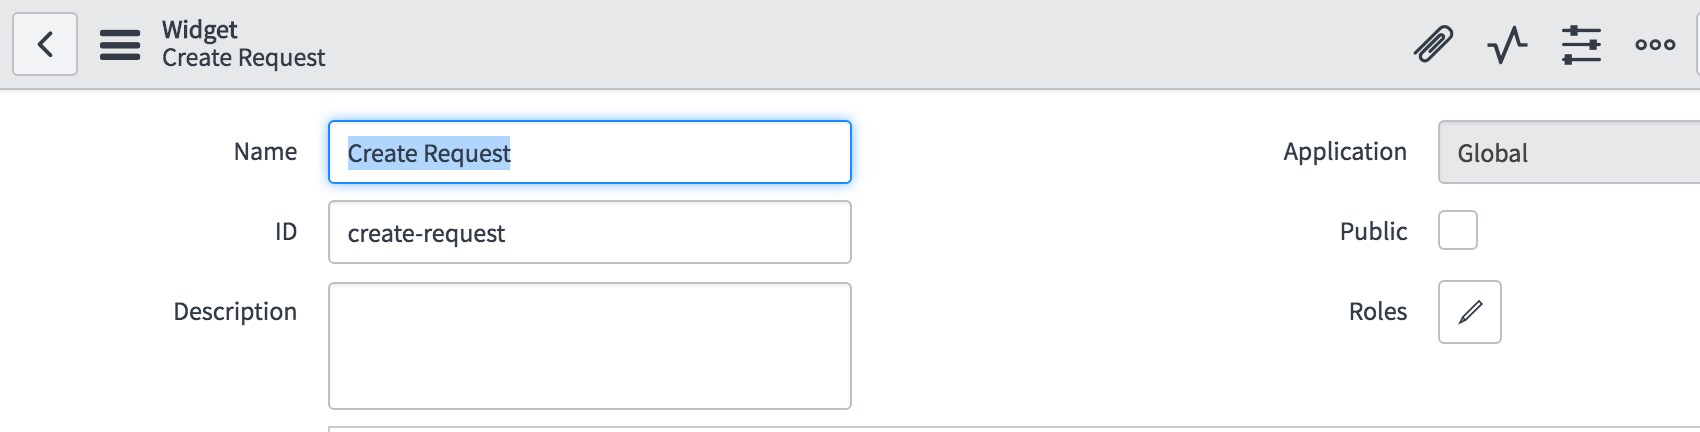
Step 3: Edit Widget we created in Step 5 (Create request widget)
HTML: (Only first line edited, everything else is same)
<div ng-if="$root.selectedPill == 'create'" class="col-md-10 center-div">
<h3 style=" border-bottom: 1px solid #ddd;padding-bottom:5px; ">Create Request</h3>
<form class="form-horizontal">
<div class="form-group">
<label for="" class="col-sm-2 control-label">Request Number</label>
<div class="col-sm-10">
<input type="text" class="form-control" placeholder="Number" autocomplete="off"> </div>
</div>
<div class="form-group">
<label for="" class="col-sm-2 control-label">Short Description</label>
<div class="col-sm-10">
<input type="text" class="form-control" placeholder="Short Description" autocomplete="off"> </div>
</div>
<div class="form-group">
<label for="" class="col-sm-2 control-label">Description</label>
<div class="col-sm-10">
<textarea class="form-control" rows="3"></textarea>
</div>
<div class="form-group">
<div class="col-sm-offset-2 col-sm-10">
<div class="checkbox">
<label>
<input type="checkbox"> High priority </label>
</div>
</div>
</div>
<div class="form-group">
<div class="col-sm-offset-2 col-sm-10">
<button class="btn btn-default">Submit</button>
</div>
</div>
</form>
</div>
Client Controller:
function($scope,$timeout) {
/* widget controller */
var c = this;
}
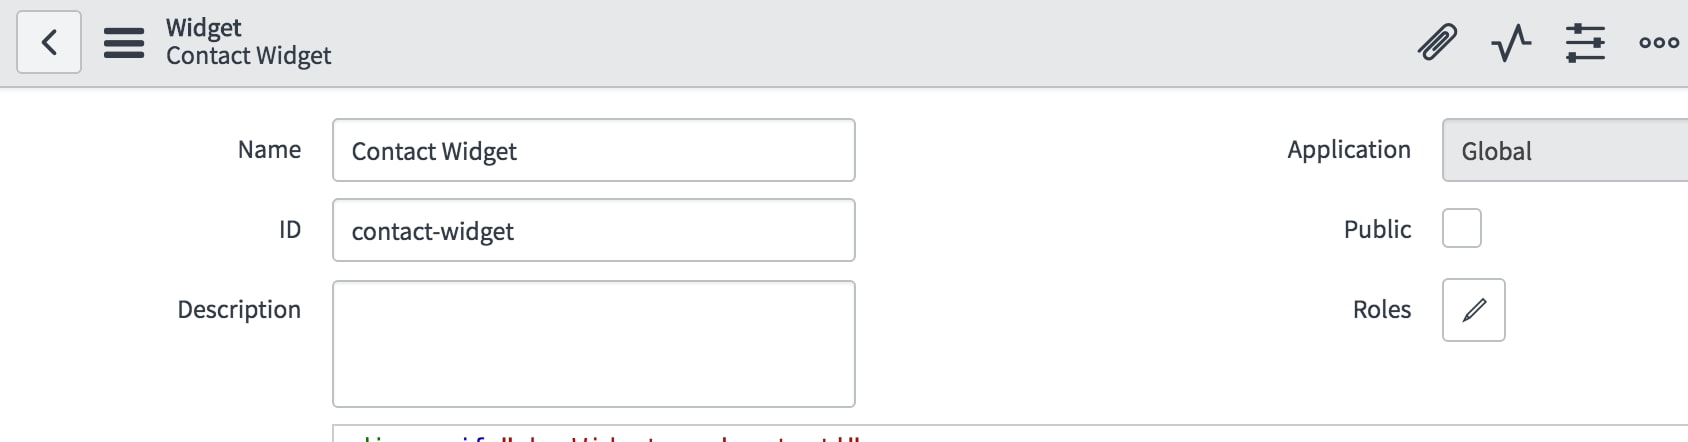
Step 4: Edit Widget created in Step 6 (Contact widget)
HTML(Only first line edited, everything else is same):
<div ng-if="$root.selectedPill == 'contact'">
<div class="container">
<!-- your widget template -->
<div class="col-md-10 center-div">
<h3 style=" border-bottom: 1px solid #ddd;padding-bottom:5px; ">Contact</h3>
<div class="flex-display col-md-9">
<div class="">
<h4>Address:</h4>
<p class="remove-margin">XYZ Company</p>
<p class="remove-margin">123 Washington st</p>
<p class="remove-margin">Washington</p>
</div>
<div>
<div class="">
<h4>Email:</h4>
<a href="javascript:void(0)">abc@abc.com</a>
</div>
<div class="">
<h4>phone</h4>
<a href="javascript:void(0)">(123)4567890</a>
</div>
</div>
</div>
</div>
</div>
Client Controller:
function($scope,$rootScope,$timeout) {
/* widget controller */
var c = this;
//Let's try to log the array of objects we created in step 1 here.
console.log(JSON.stringify($rootScope.simpSons));
}
Now that we have edited our widgets to make use of root scope variable. Go ahead and test it out. It should work as before.
And if you check your browser console. You can see the $rootScope.simpSons we logged inside "Contact widget".
This is just a simple demonstration of how we can use $rootScope to share data between widgets.
Thanks,
Sush
- 20,229 Views
6 Comments
You must be a registered user to add a comment. If you've already registered, sign in. Otherwise, register and sign in.

