- Mark as New
- Bookmark
- Subscribe
- Mute
- Subscribe to RSS Feed
- Permalink
- Report Inappropriate Content
09-07-2017 06:06 AM
Hello,
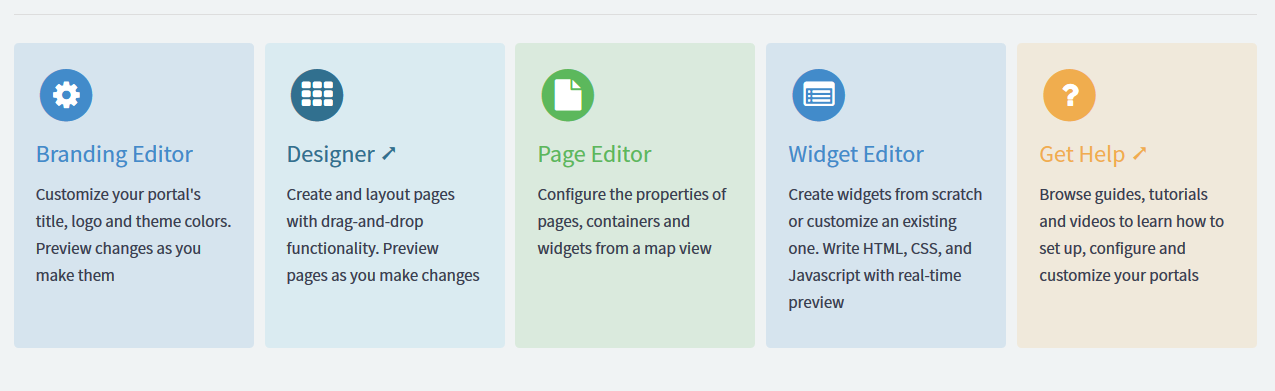
Do you know how i can add panel or change column/row color on service portal designer? I add a container with 3 colomns and i use icon-link but i need to change the background color for the rows not for the container.
I have this:

but i want something like this. I thing i can use panel but i don't know where to add it.

Thanks
Sadia
Solved! Go to Solution.
- Labels:
-
Service Portal
- Mark as New
- Bookmark
- Subscribe
- Mute
- Subscribe to RSS Feed
- Permalink
- Report Inappropriate Content
09-07-2017 10:15 AM
Hi Sadia,
There are several ways of doing what you need, but one way is to open the Designer.
First select the page you want to edit. The front page is usually called "index".
For the colour of the widget panels, when in the Designer view, hover over the Icon Link widget (e.g. "Order Something") then select the edit icon in the top left corner (pencil icon).
In the widget instance options dialog that loads, you can set the colour using one of the preset values - use field "Bootstrap colour" to choose an option, e.g. Primary.
Click Save and the widget should update with the new style.
Changing the colour of the row is as simple as selecting the Container that holds these widgets, then clicking the edit (pencil) icon in the top right of the page header. The background colour, image and style can be modified.
You can add more widgets into the container by dragging them from the widget list on the left side - the maximum number you can add to a container will be down to which Container Layout you have defined (e.g. "12" allows one widget, but "3 3 3 3" allows four widgets, evenly spaced).
Michael