- Mark as New
- Bookmark
- Subscribe
- Mute
- Subscribe to RSS Feed
- Permalink
- Report Inappropriate Content
05-08-2022 05:00 AM
Trying to create new UI theme to choose in San Diego instead of Default(polaris) and Dark.
Not finding any relevant information on exactly how to do this in Product Documentation.
Branding instances is something that almost ALL customers want and it should not be too complex IMO. Or just differentiating DEV from TEST and PROD.
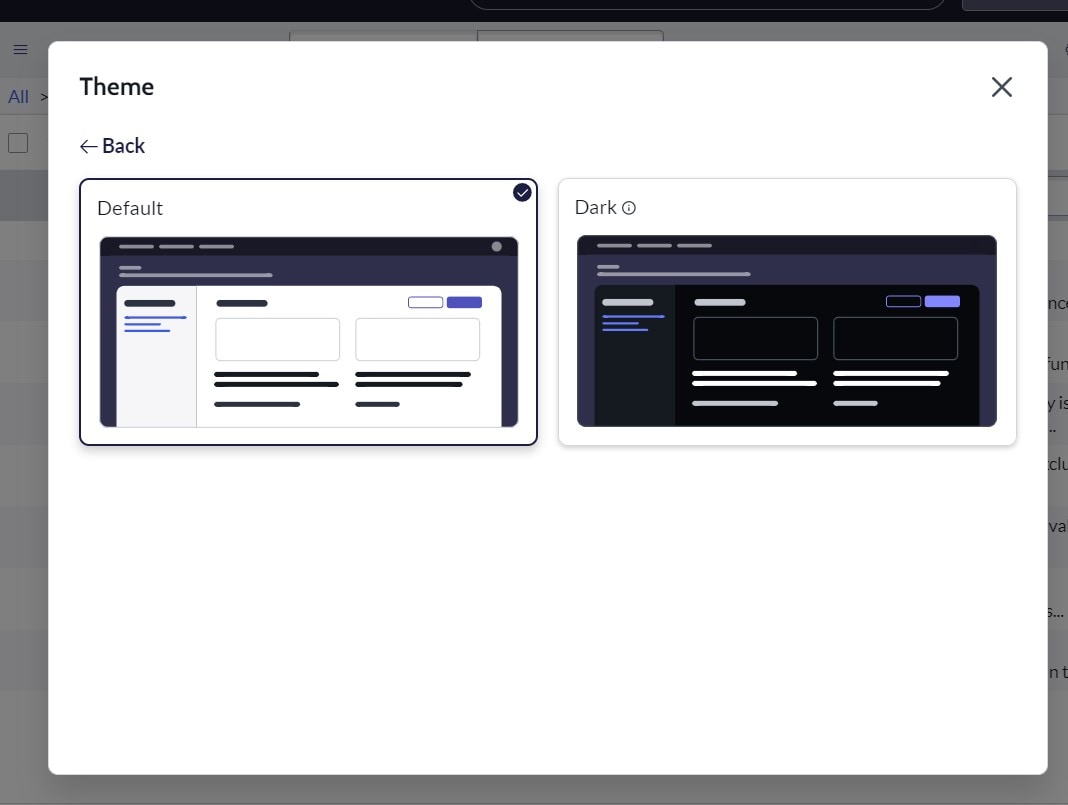
Would appreciate if someone gave a step by step by guide on this. Theme should be selectable in Preferences / Theme.
Solved! Go to Solution.
- Labels:
-
UI Framework Next Experience
- Mark as New
- Bookmark
- Subscribe
- Mute
- Subscribe to RSS Feed
- Permalink
- Report Inappropriate Content
05-08-2022 05:21 AM
Hi
please have a look at the following two articles, which explain in detail how to create themes in the Next Experience:
- https://community.servicenow.com/community?id=community_article&sys_id=a33fb397db590110e515c22305961...
- https://community.servicenow.com/community?id=community_blog&sys_id=1dfe4ca11b664150ed6c9979b04bcb92
Kind regards
Maik
- Mark as New
- Bookmark
- Subscribe
- Mute
- Subscribe to RSS Feed
- Permalink
- Report Inappropriate Content
05-08-2022 09:09 AM
Thanks
This seems to cover my question and a lot more.
Regards
- Mark as New
- Bookmark
- Subscribe
- Mute
- Subscribe to RSS Feed
- Permalink
- Report Inappropriate Content
05-08-2022 05:45 AM
Both the articles provided by Maik should be helpful. They're both linked to from our Next Experience Center of Excellence hosted here on the community, which is a great place to get started with info on the new UI and UI Builder.
- Mark as New
- Bookmark
- Subscribe
- Mute
- Subscribe to RSS Feed
- Permalink
- Report Inappropriate Content
05-08-2022 09:06 AM
This article is the exact step by step short guide I was looking for:
Creating your own theme in Polaris (Next Experience) (linkedin.com)
Changing this ( "--now-color_chrome--brand": ) and ( "--now-color_chrome--divider": ) is enough for DEV and TEST instances.
STEP 1 - Activate the Polaris theme & set the glide.ui.polaris.dark_themes_enabled property to true (We are going to create our new theme as a variant, similar to Dark mode)*
STEP 2: Follow the following steps:
- Create an update set
- Navigate to "Now Experience Framework > Themes"
- Click on Polaris (not Polaris Default)
- Click on style "Dark" in the UX theme styles
- Right click and insert & stay
- Rename the UX style to "My custom theme!" or whatever you want to call it
- Now go to the "colors" UX style (it is read-only)
- Copy all the Style JSON code
- Paste this code into your own variant
- Change the following variables (pick a RGB colour of your choice and play around by changing the variables.)
- "--now-color--neutral": "79,86,100", (Line 3)
- "--now-color--primary": "79,82,189", (Line 4)
- "--now-color--secondary": "79,82,189", (Line 5)
- "--now-color_chrome--brand": "48,47,75", (line 19)
- "--now-color_brand--neutral": "79,86,100", (line 1240)
- "--now-color_brand--primary": "79,82,189", (line 1241)
- On the related list of the UX style UX THEME STYLE, create a new record and add it to Polaris.
- Save and refresh. Then go to PROFILE > PREFERENCES > THEME and select the theme variable you just created.