


Marlos

ServiceNow Employee
Options
- Subscribe to RSS Feed
- Mark as New
- Mark as Read
- Bookmark
- Subscribe
- Printer Friendly Page
- Report Inappropriate Content
02-05-2018
10:21 PM
Cloud Management in Jakarta and above can discover Azure private images. There are some business cases, however, where you may want to have the public images available in Cloud Management. This blog explains how to add Azure public images to the OS template table so you can use them in resource profiles.
Note: You will need the cloud_admin role for this procedure.
How to add Azure images to the OS template table
Collect field information from Azure
1. Fetch required fields from Azure. Here's an example fetching it from the Azure CLI.
2. The fields of importance are the Offer, Publisher, Version, and Sku. On the command line, you can search by Offer, Publisher, or both as shown in this example. Each line item in this screenshot is a different image — all CentOS of varying versions, from OpenLogic.
Create a new OS template table
3. In the left nav filter, enter cmdb_ci_os_template.list. Click Enter to go to the table.
4. Click New.
5. Configure form layout to show Offer, Serial number, Version, and Vendor.
6. Enter the following information to create a new image:
| Object ID | Enter a unique name |
| Name | CentOS 6.5 |
| GuestOS | Linux |
| Offer | CentOS |
| Serial Number | 6.5 |
| Version | 6.5.201501 |
- For Vendor, click the magnifying glass and then click New.
- For Name, enter OpenLogic.
- Click Submit.
7. From the Credentials field, click the magnifying glass.
8. Click New.
9. Click Basic Auth Credentials.
10. Give it a username and password that will become the admin user/password of the provisioned VM.
11. Click Submit.
12. Save the new image record.
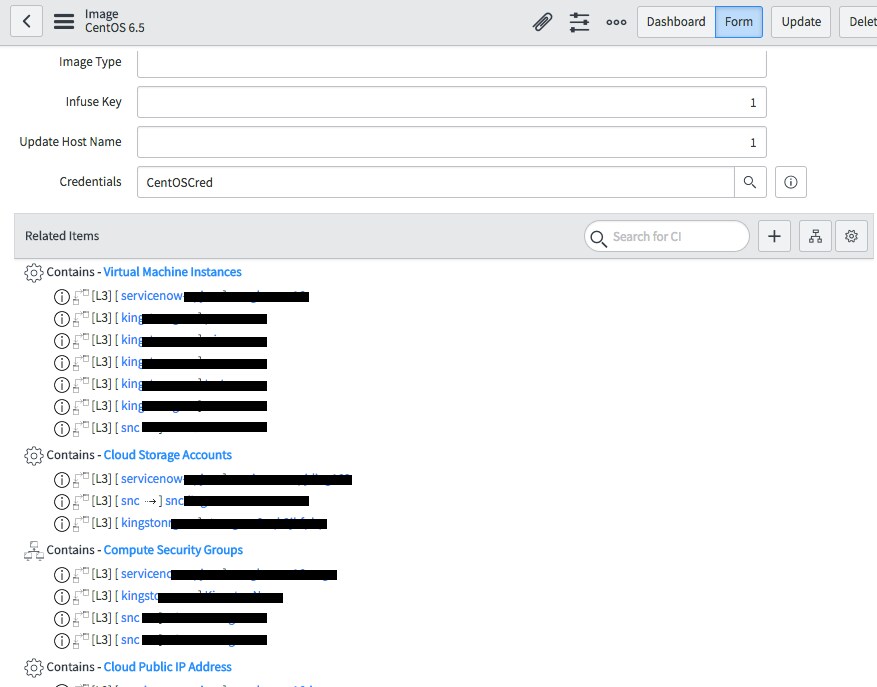
Add related items
13. Navigate to the Related Items and click the + Symbol
14. On the Relationship Edit Form, navigate to the Suggested relationship types window and select Hosted On (Parent)...
15. Modify the Filter condition to the following: Class | is | Azure Datacenter
16. Click Run filter.
17. Search the Configuration Items and select the valid datacenter(s) that the image is for.
18. From the bottom of the form, under Relationships, click the + symbol.
19. The green shading is a visual indication that you have successfully associated the AMI with the desired Data centers.
20. Click Save and Exit.
21. Click OK.
22. From Related Items, observe the image is associated to the desired data center.
23. Click Update.
Conclusion
Once these steps are completed, the added Azure public image is now available for selection when creating a new OS Profile in Resource Profile.
Other useful resources:
- 2,008 Views
2 Comments
You must be a registered user to add a comment. If you've already registered, sign in. Otherwise, register and sign in.

