A Boolean interactive filter allows users to filter report widgets based on the value
of a true/false field.
Before you begin
Role required: hp_publisher_admin and report_admin. The hp_publisher_admin role exists only for managing interactive filters in Core UI. By default, it contains the role analytics_filter_admin for managing
Core UI filters that are migrated to Platform Analytics experience.
When a user selects
All, they do not see a report with all filter options
applied, they see the unfiltered report. This example of Boolean filter shows three options you can filter on: true, false, and All.

Note: If the interactive filter has a default value or specifies the last selected value, non-responsive dashboards do not apply this value automatically. This feature is only available on
Responsive dashboards.
Procedure
- Optional:
Check the existing interactive filters on the same
table.
-
Navigate to and select an interactive filter based on the same table you want to filter.
-
Under Related Links, select Other filters on
Table.
-
Review the other filters that are available on the same table to see if
the filter you want already exists.
-
Navigate to .
-
Select New.
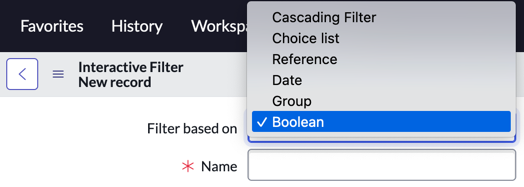
-
In the Filter based on list, select Boolean.
-
Set the following fields:
| Name |
Description |
| Name |
Enter a name for the filter. This
name appears on the dashboard widget for the
filter. |
| Look up name |
Enter a lookup name for the filter. This name appears in
the Add content menu for users adding
a filter to a dashboard. Use this name to help organize your
filters. If you do not specify a lookup name, the
Name value is used
instead. |
| Description |
Enter a description of the filter. |
| UI control type |
Select how the available filtering options for this
filter appear on the dashboard widget. See Available interactive filter UI control types. |
- Optional:
Select Apply to all tables in hierarchy to apply the
filter to parent, child, and sibling tables of an extended table.
- Optional:
Select Apply filter to database views and tables to apply the filter to widgets based on both database views and tables.
-
In the Table list, select the table that includes the
true/false field to filter on.
-
In the Field list, select the true/false field to
filter on.
- Optional:
Select a Default value for the filter.
This default is applied automatically for all users. If a user selects a
different value, that value is saved as the user's default and overrides the
global default.
-
Select Submit.
What to do next
- After you create the filter, add it to a dashboard.
- On the dashboard, select the Edit widget icon (
 ) on each visualization on the dashboard that should follow the filter and select Follow interactive filter.