A date interactive filter allows users to filter report widgets based on the value in
a date field.
Before you begin
Role required: hp_publisher_admin and report_admin. The hp_publisher_admin role exists only for managing interactive filters in Core UI. By default, it contains the role analytics_filter_admin for managing
Core UI filters that are migrated to Platform Analytics experience.
When a user selects
All, they do not see a report with all filter options
applied, they see the unfiltered report. This example of date filter shows a number of date ranges you can filter on.

Note: If the interactive filter has a default value or specifies the last selected value, non-responsive dashboards do not apply this value automatically. This feature is only available on
Responsive dashboards.
Procedure
- Optional:
Check the existing interactive filters on the same
table.
-
Navigate to and select an interactive filter based on the same table
you want to filter.
-
Under Related Links, select Other filters on
Table.
-
Review the other filters that are available on the same table to see if
the filter you want already exists.
-
Navigate to .
-
Select New.
-
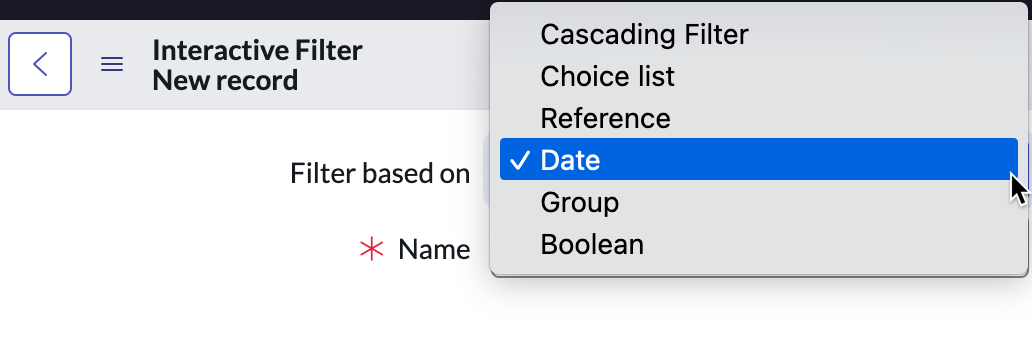
In the Filter based on list, select Date.
-
Set the following fields:
| Name |
Description |
| Name |
Enter a name for the filter. This
name appears on the dashboard widget for the
filter. |
| Look up name |
Enter a lookup name for the filter. This name appears in
the Add content menu for users adding
a filter to a dashboard. Use this name to help organize your
filters. If you do not specify a lookup name, the
Name value is used
instead. |
| Description |
Enter a description of the filter. |
| UI control type |
Select how the available filtering options for this
filter appear on the dashboard widget. See Available interactive filter UI control types. |
- Optional:
Select Apply to all tables in hierarchy to apply the
filter to parent, child, and sibling tables of an extended table.
- Optional:
Select Apply filter to database views and tables to
apply the filter to widgets based on both database views and tables.
-
In the Date section, use the slushbucket to select one
or more date ranges that users can filter on.
Available date filters are defined in the Get Date Filter options
for Date Filters business rule. Customize this business rule to
add or remove filter options.
- Optional:
Select a Default value for the filter.
This default is applied automatically for all users. Values that a user
selects override the global default for that user. You can specify more than one
default value when using a UI control type that enables multiple selections,
such as
Select Multiple Input.
Note: To pass more than 50
default values, or if you see the error This is exceeding the
GET call limitation, create multiple interactive
filters.
-
Right-click on the form header and select Save.
-
In the Interactive filter Dates related list, select
New.
-
In the Table field, select a table that has reports you
want to filter.
-
In the Field field, select a date field to filter
on.
-
Click Submit.
What to do next
Repeat steps 8-11 as needed for each date field you want to filter on. After you
create the filter, add it to a dashboard.